Using Kantronics KAM Plus in Linux
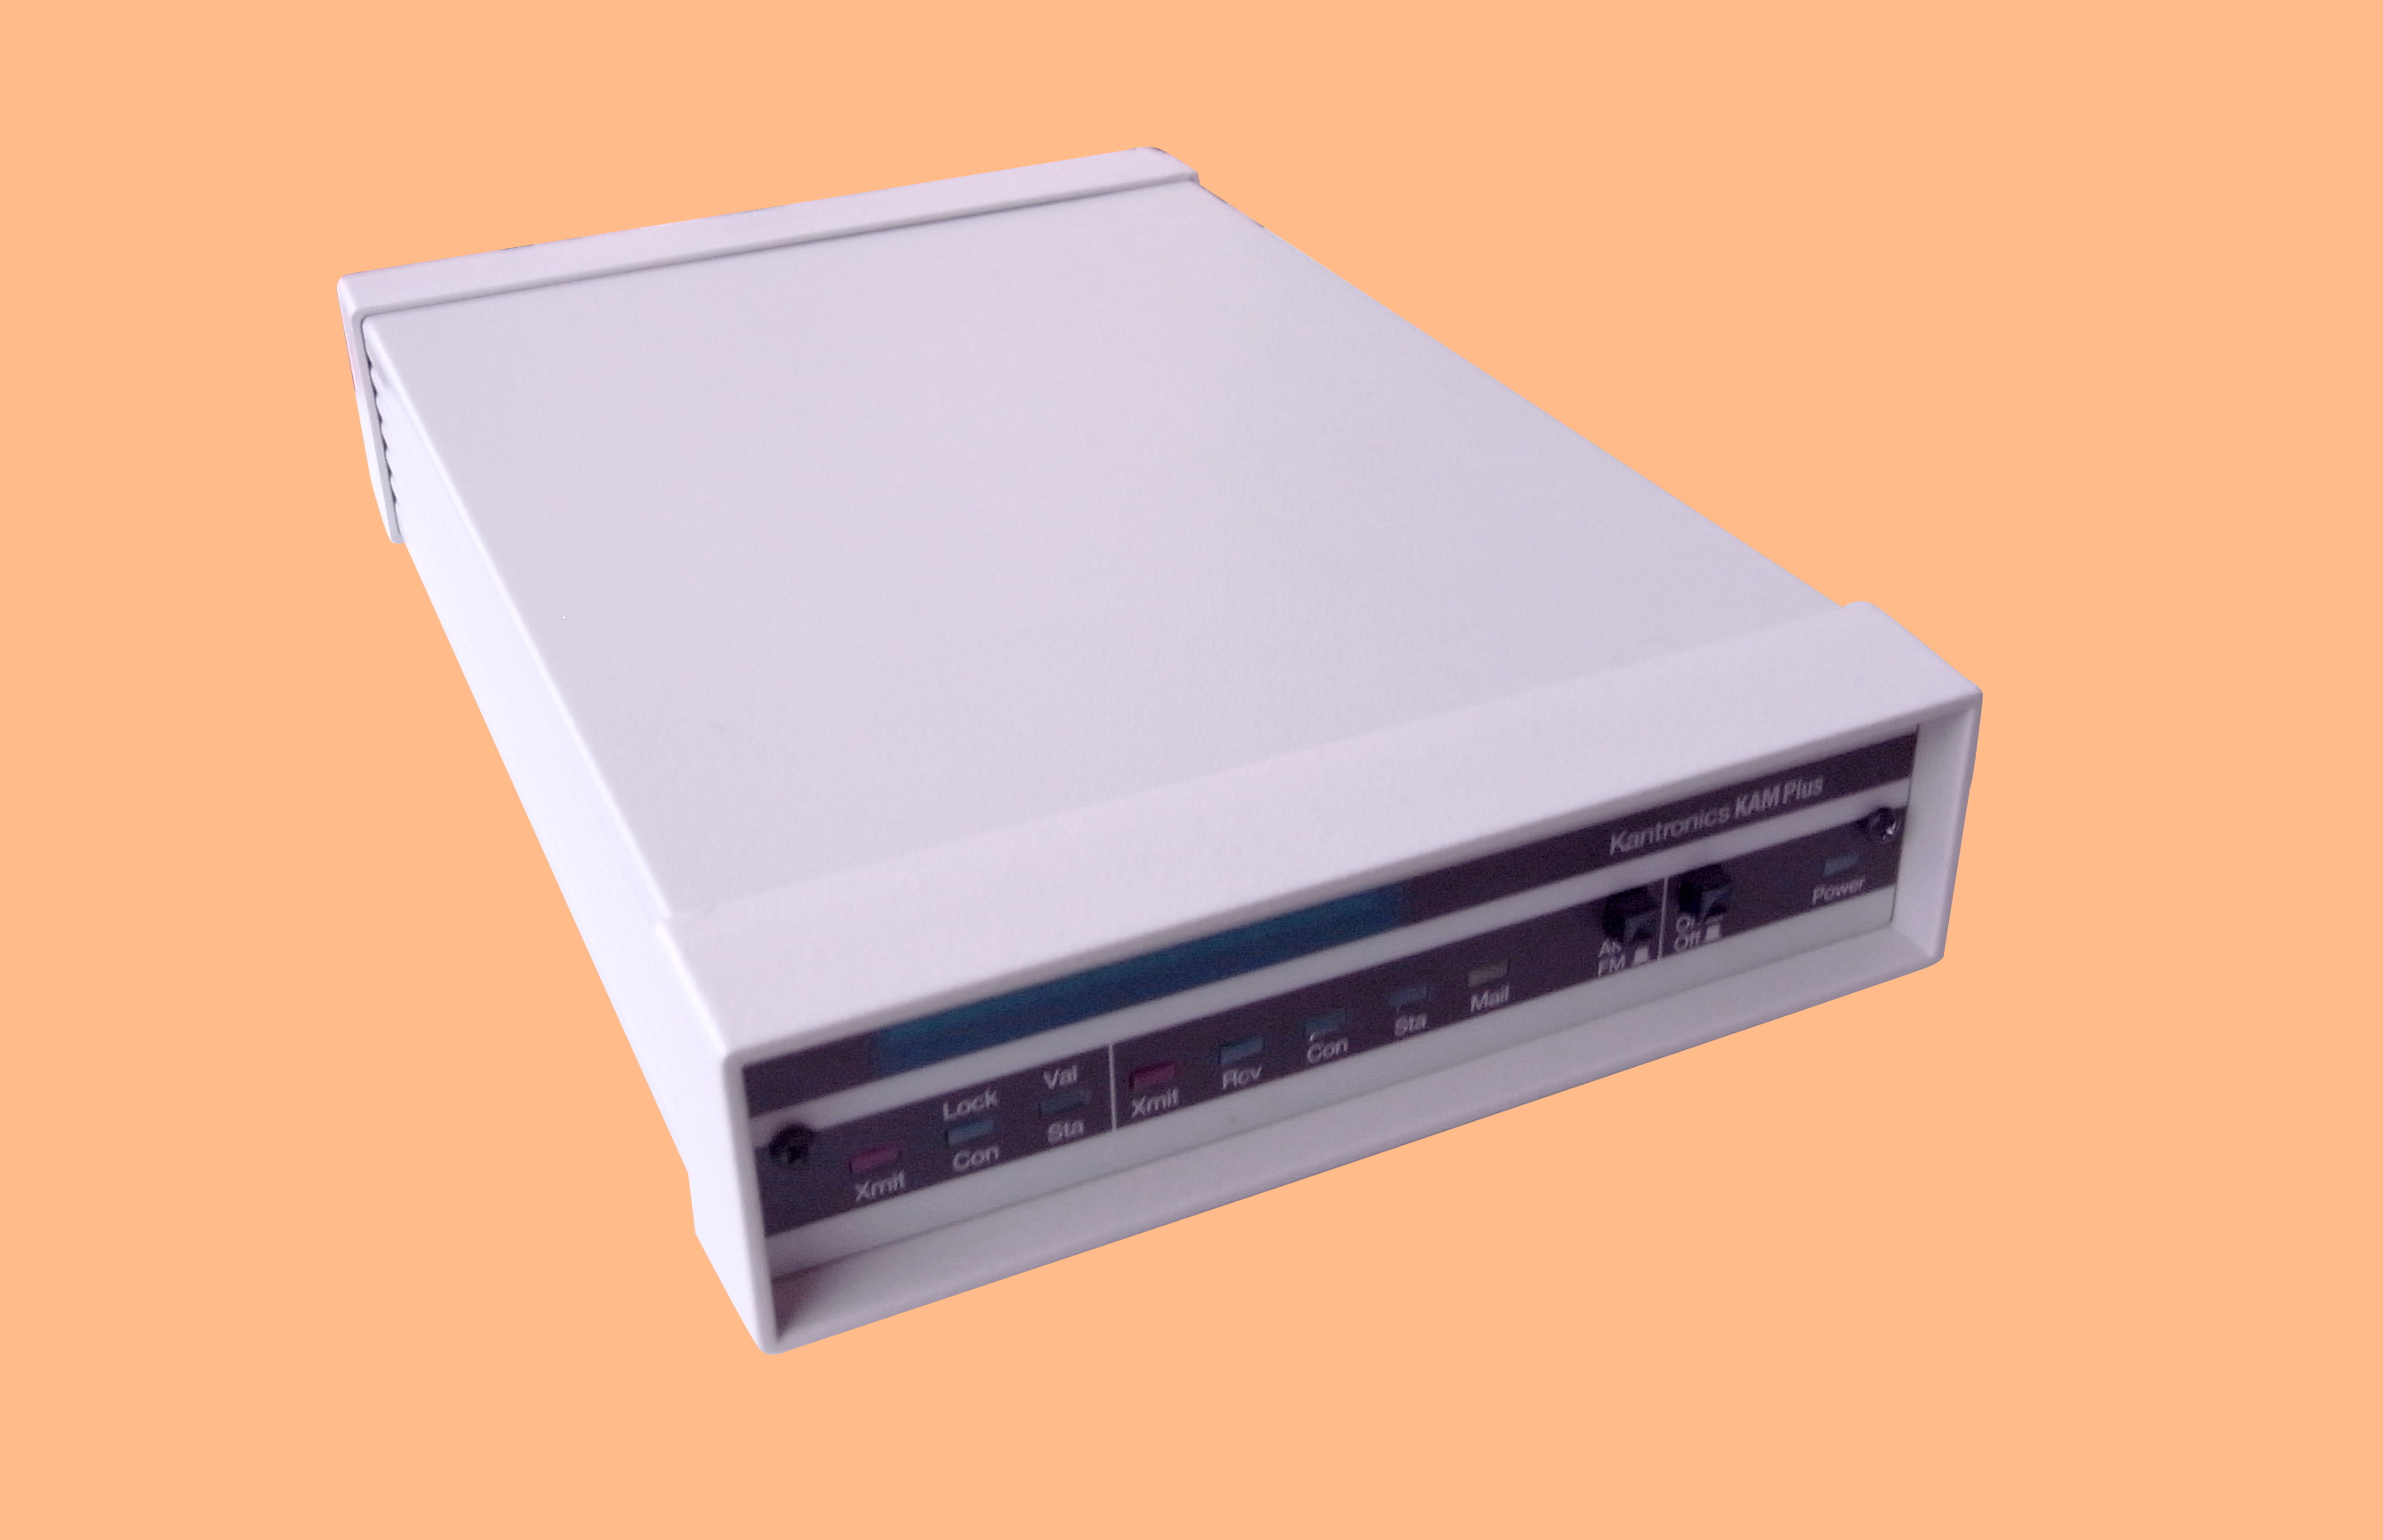
One of the older devices I am using in the ham shack is an HF/VHF modem from Kantronics named KAM Plus (or KAM+). This article is mainly about KAM+, but is also describing accessing of serial port which may be used also for any type of serial port controlled modems or TNCs.
Retro-review of KAM+
KAM+ was produced between 1988 and 1998, the last firmware version is 8.2. In the '90s, KAM+ was the proper choice for anybody who wanted work seriously with digital modes on HF. The situation was not so easy as nowadays. Internet was not available for normal people (at least in the Czech Republic it was very expensive), so many people were using 1200 Bd packet radio (AX.25) on VHF and majority of HF transmissions were done in RTTY, sometimes ASCII or 300 Bd packet radio, also few ARQ modes (Automatic Repeat Request) gain some popularity: AMTOR and PACTOR I. Digital modes were using not very effective modulations, usually keying of two frequencies (FSK/AFSK), where one frequency means logical 0 (SPACE) and the second is 1 (MARK).
KAM+ with firmware version 8.0 can also connect GPS receiver with uses RS232 and NMEA-0183 (National Marine Electronic Association), but you need to have some external switch on the port between a receiver and computer.
At the time of the greatest glory of KAM+, modems or TNCs (terminal node controller) had two categories: smart and simple (or dumb). Simple TNCs were sending raw data directly to PC port and PC was detecting frequency by zero-cross detection and converting it to data (Hamcomm, Baycom).
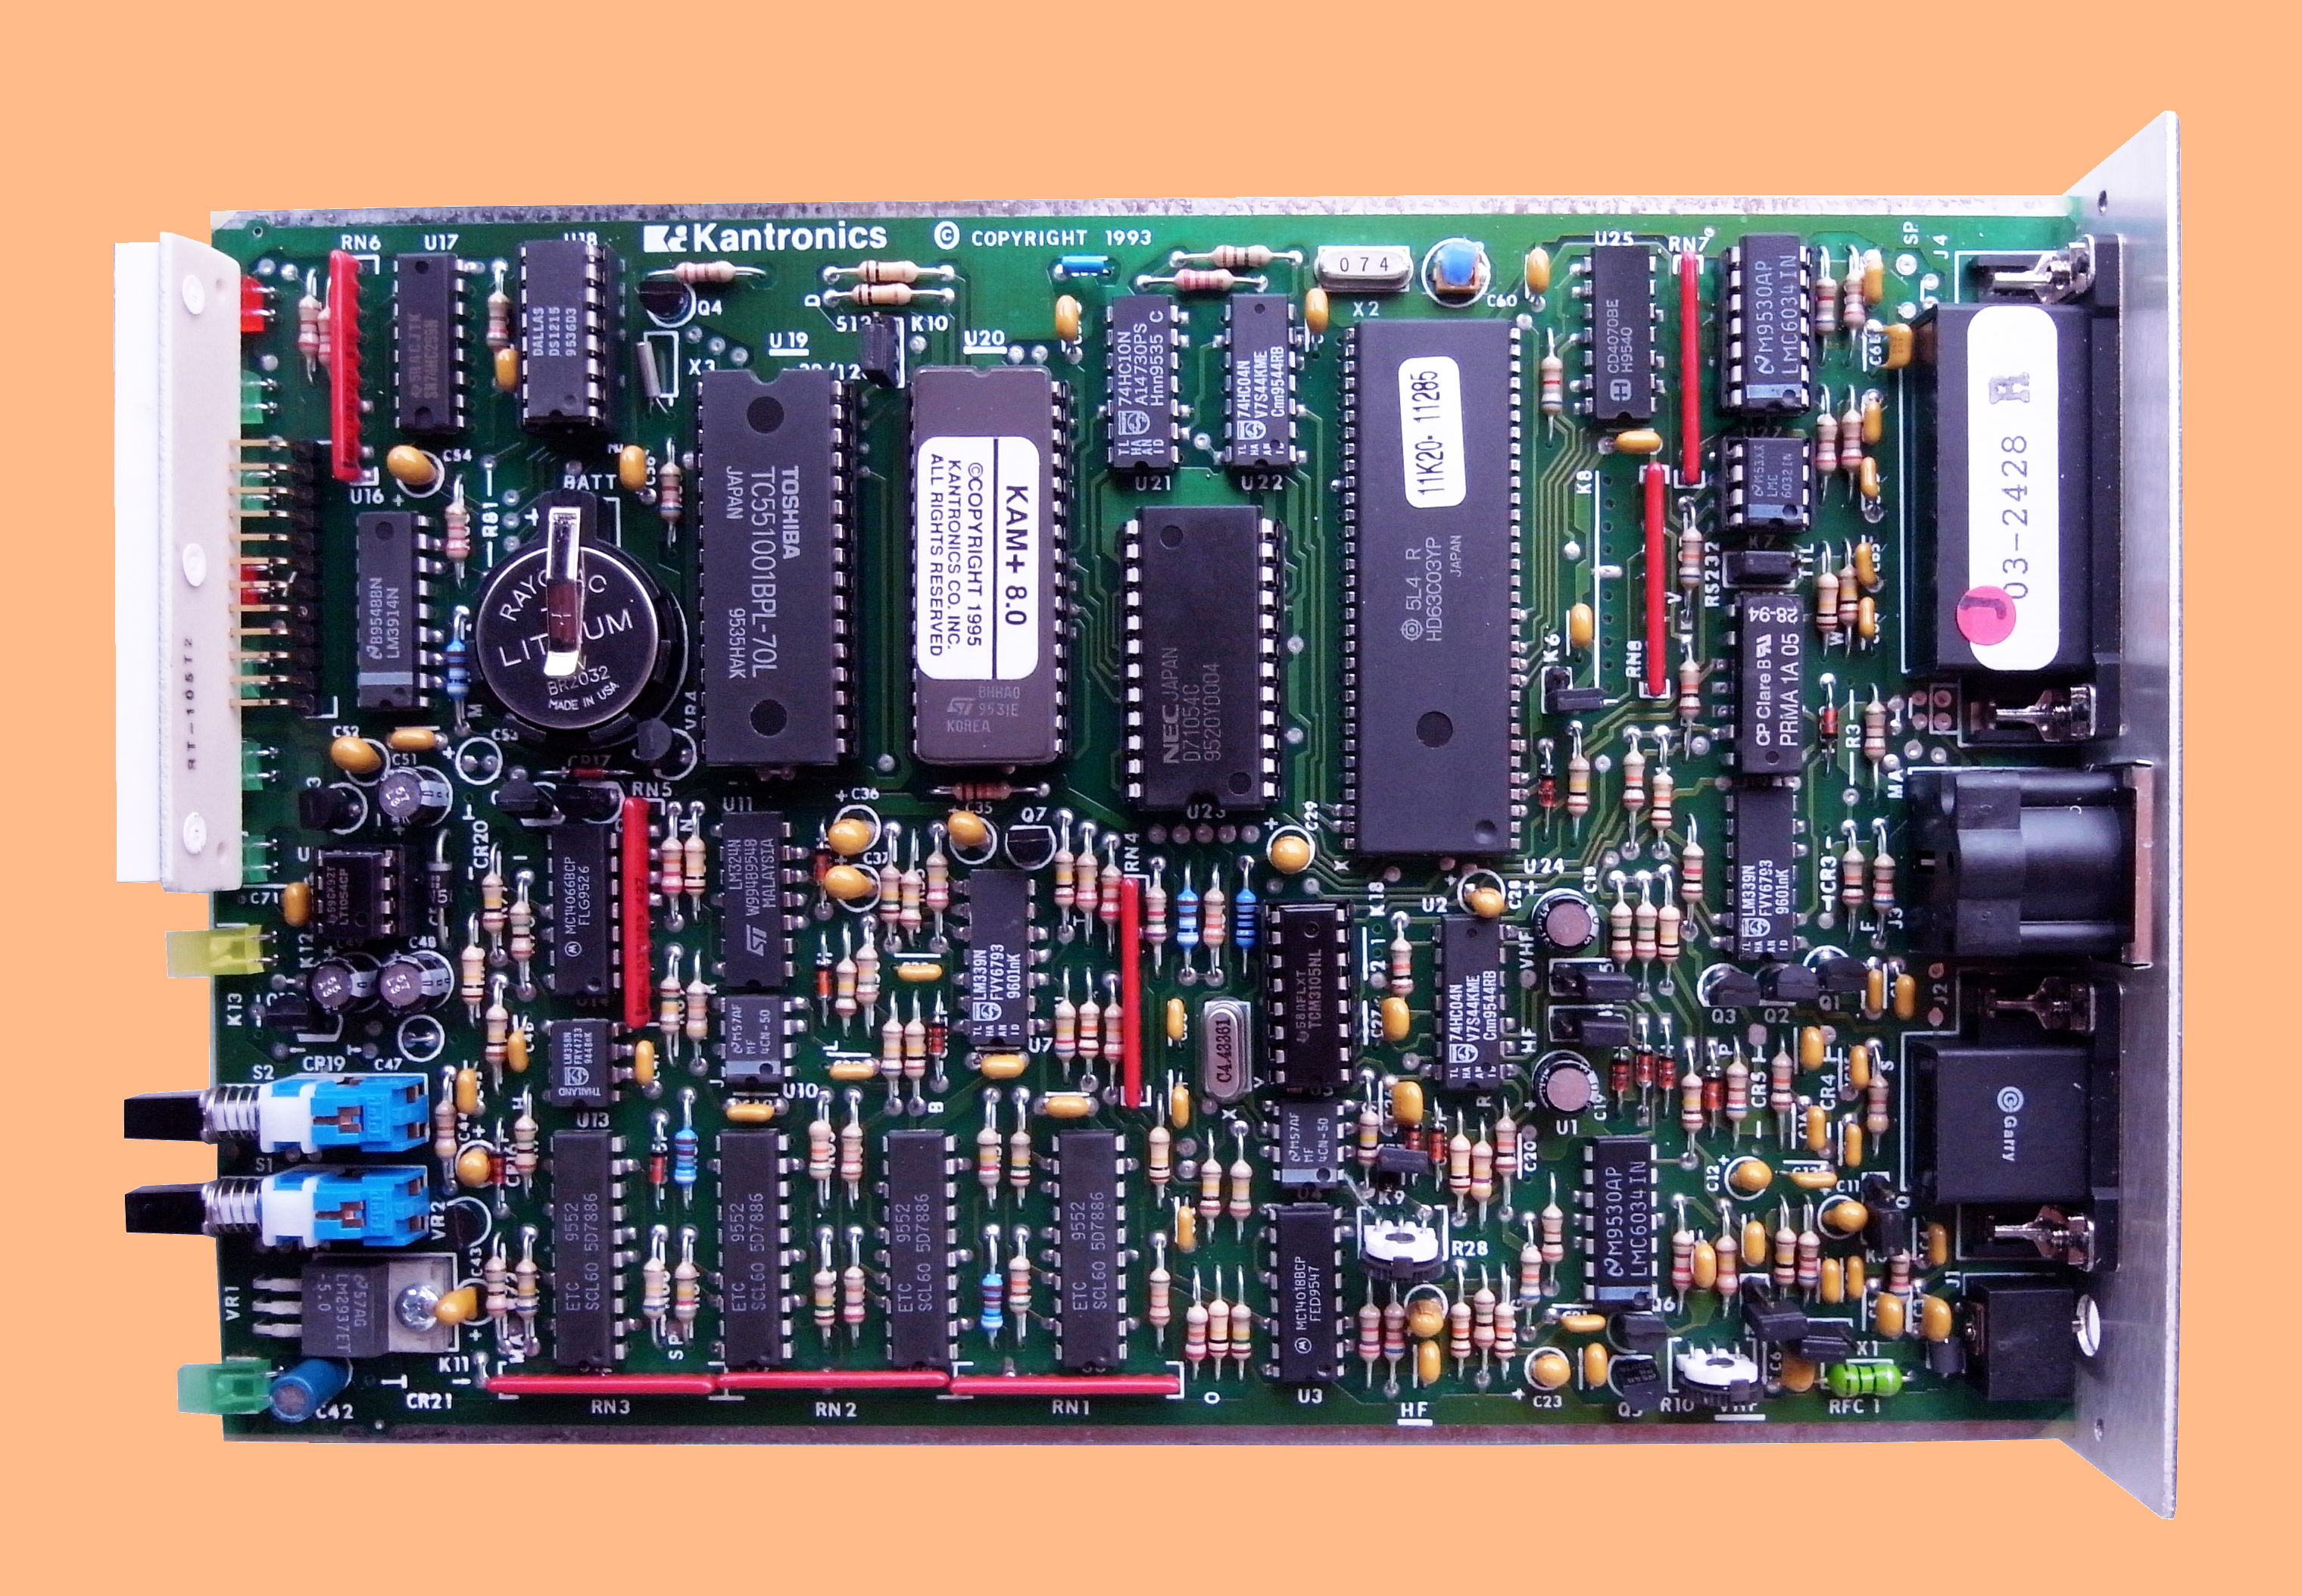
Smart TNCs are equipped with a processor itself, also contains A/D, D/A converters and sometimes also DSPs. Such unit can process signal itself so the computer does not do much and works only as a terminal to get demodulated data usually via RS-232 serial interface. KAM+ belongs into this category.
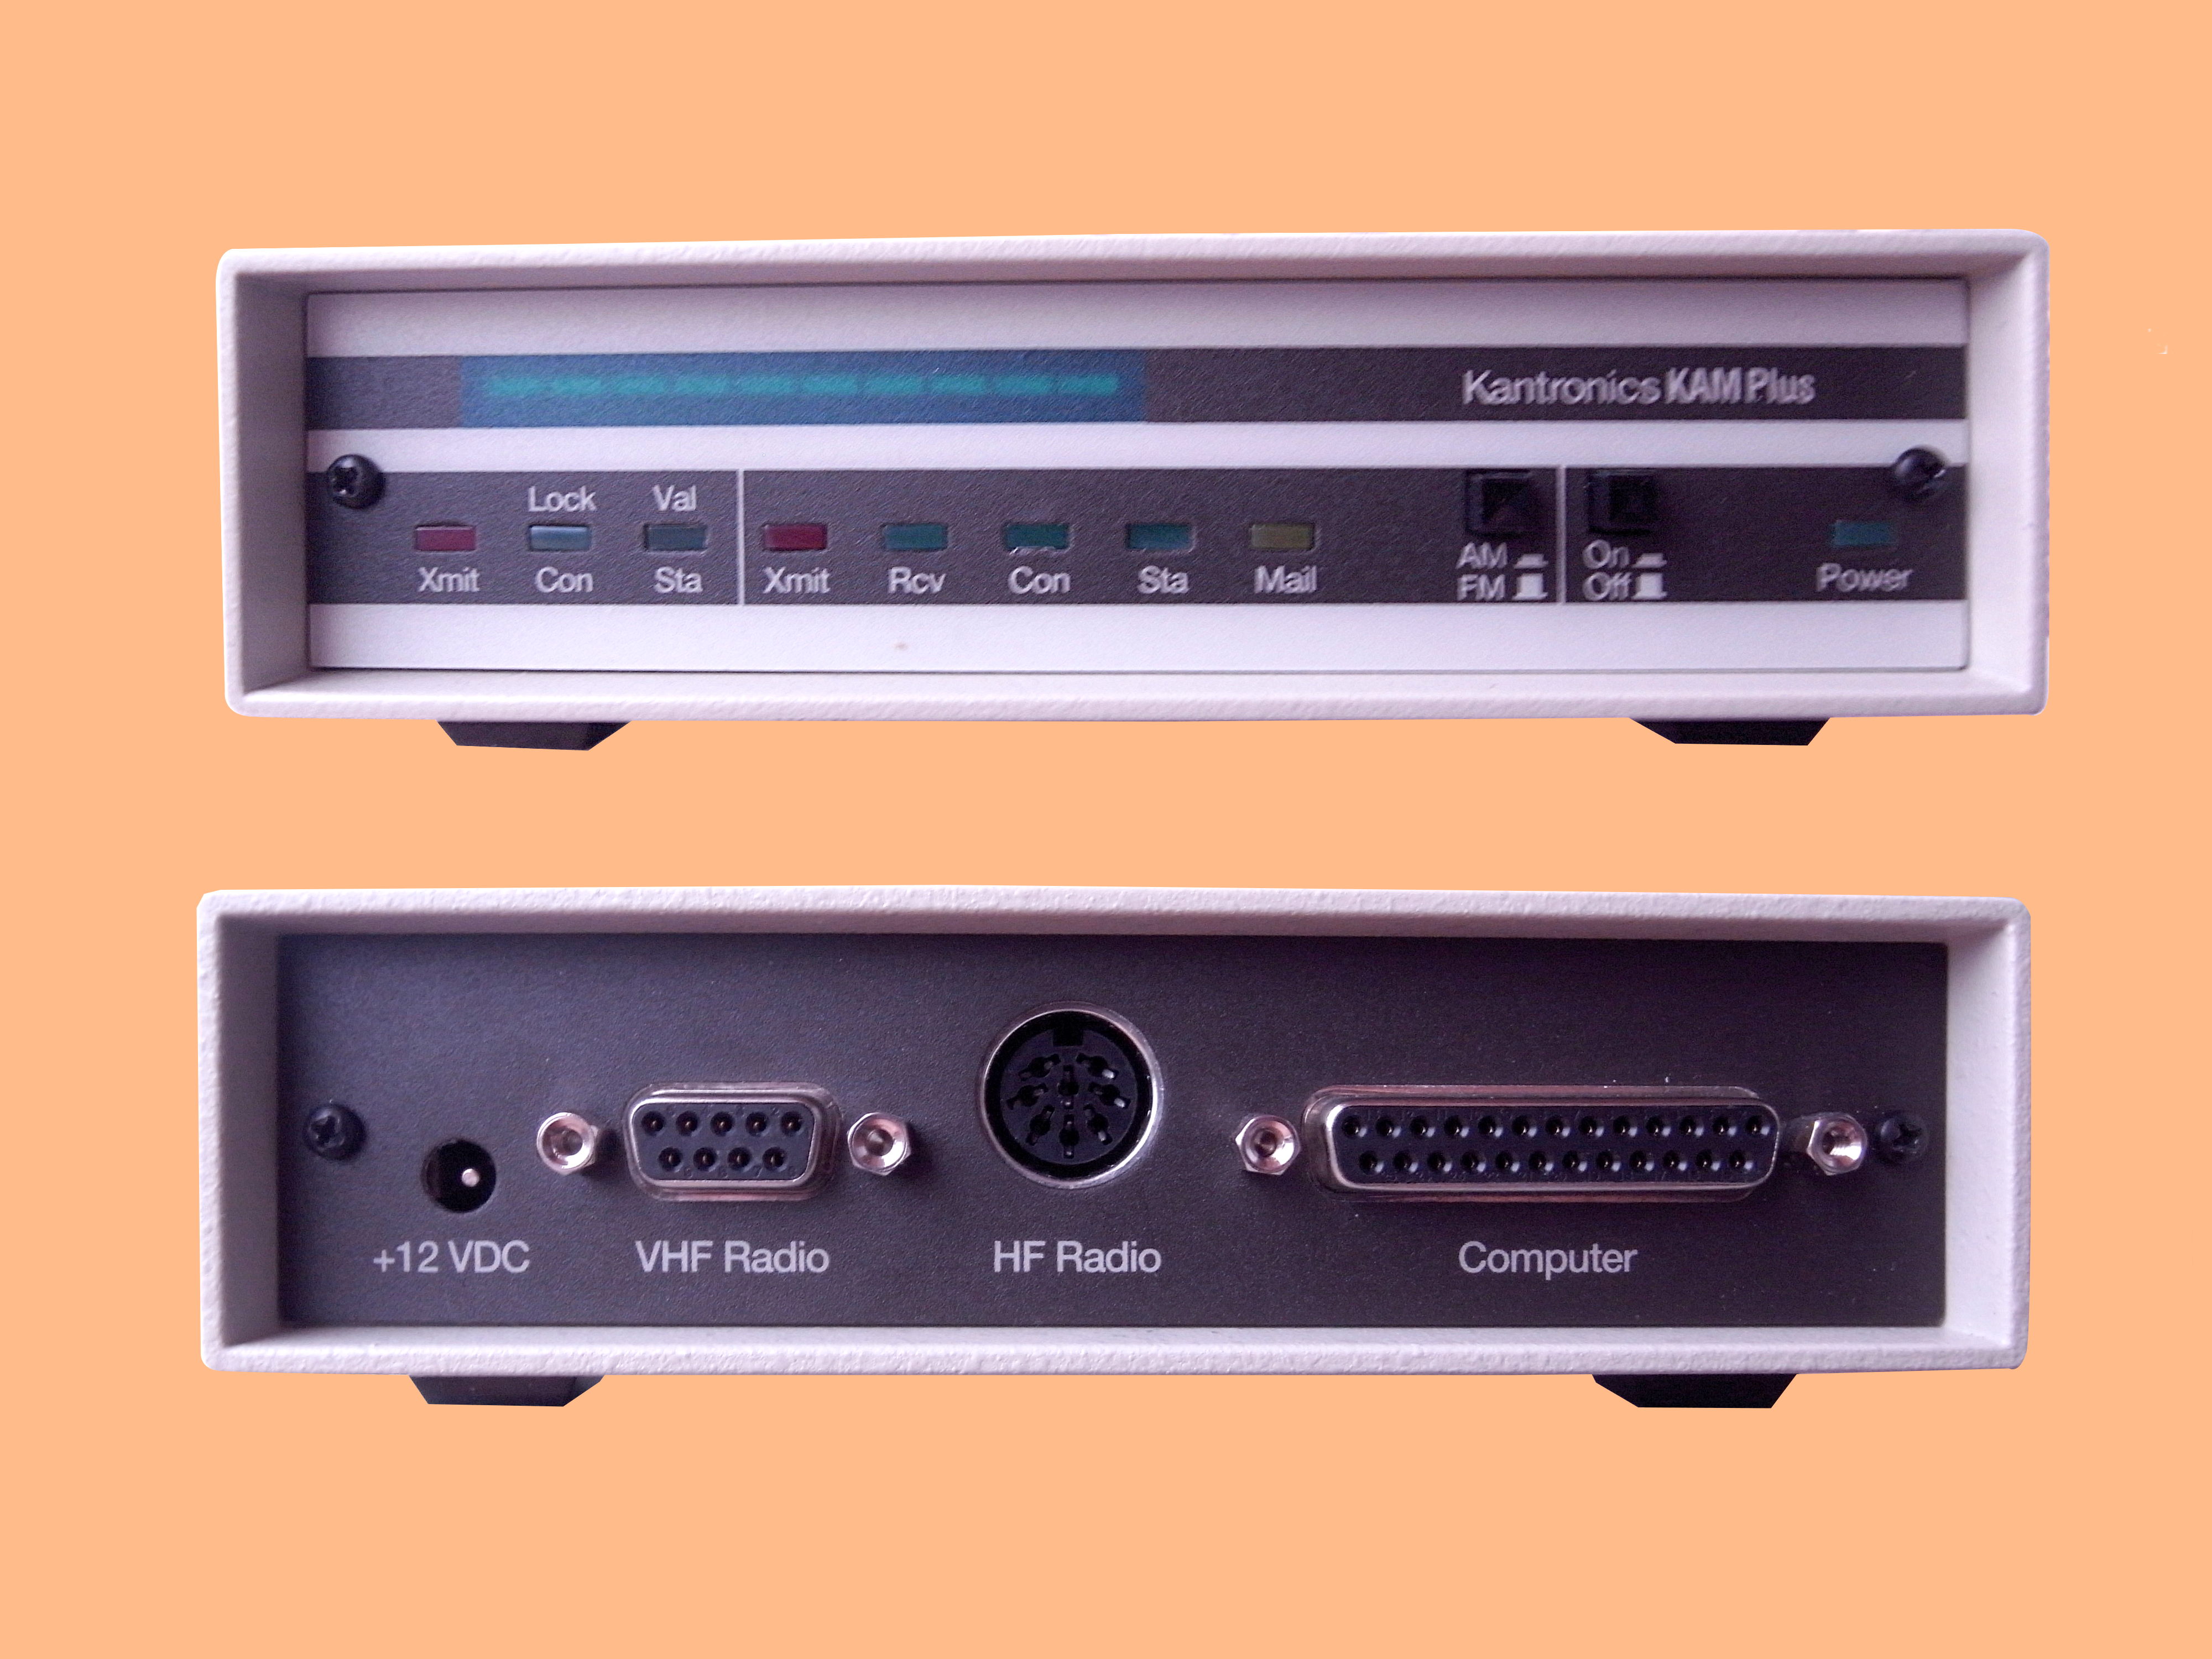
A unique feature of KAM+ is that it works as dual-port TNC. One port can serve HF and the second port can serve VHF. Both ports can be used together with special software working in host-mode. For example, it is possible to monitor DX cluster on packet radio and do QSOs in RTTY on HF. It is also possible to relay data between those two ports. KAM+ can also work as stand-alone BBS and store messages in local 128 kB RAM. BBS is available for HF/VHF packet and also for *TOR modes. Another feature is digipeater and connected stations can communicate via it (another TNC from Kantronics, KPC-9612 was used for a long time on Mir space station). During the '90s, there were many HF BBSes available and it was possible to send and receive emails, which is still useful for ham radio operators on yachts or in remote areas without access to VHF packet.
New KAM+ was sold for about $350 and second-hand is sometimes is also available on eBay for about $50.
What can you do with 20-year-old KAM+ nowadays? Majority of digi-operators now have a computer with a sound card which works as a modem and CPUs are so powerful that it easily mimic DSPs and process all signals from SSB channel or also process wider-band if SDR is in place. Thanks to it, plenty of new modes with better modulation techniques became very popular (PSK31, FT8,...) and there is no chance KAM+ can be used for them. Areas, where KAM+ can be used is RTTY, ASCII, monitoring of utility stations transmitting AMTOR/SITOR and for monochrome WEFAX reception, it can be used for APRS on VHF too. Other modes are not very common anymore.
Another obsolete feature of KAM+ is his tuning indicator made of a bar with 10 LEDs and blinking LEDs at the edges will give you information about proper tuning on MARK/SPACE frequencies. However for RTTY utility monitoring of services with different shifts, you need to experiment which one to set (and for example 450 Hz is not predefined and must be set manually). I think frequency waterfalls showing FFT of all channel are handier when analyzing unknown signals.
On the other hand, using the terminal in GNU/Linux is giving space for doing some magic with received data. For example, redirect them into other tool for their decoding/processing. Also, parameters of some modes can be fully configured, like RTTY, ASCII, SITOR/NAVTEX speed, frequency shift or encoding (specialized programs usually have only most common options). KAM+ also supports different RTTY codes, besides ITA-2, also LCRTTY (case-sensitive) and MARS (Military Affiliate Radio System) are available. You can also mask some bits for "scrambled" RTTY/ASCII modes. KAM+ also support telegraphy decoding, but you need to manually determine speed quite precisely.
Latest firmware version of KAM+ are also very stable, so you cannot see any bad behavior like unwanted changing of sample rate or expeling of some weird sounds, which is sometimes seen on bands due to Microsoft Windows...
KAM+ parameters
- Size: 4.5 cm × 15.3 cm × 23cm; weight 1,1 kg.
- CW;
- RTTY – speed 20–500 Bd; shift 170, 425, 850 Hz or any value manually set; codes ITA2, US, LCRTTY, APLINK, MARS. You can set UOS (Unshift On Space).
- ASCII – 7 or 8 bit.; speed 20–500 Bd; shift 170, 425, 850 Hz od any value manually set;
- AMTOR – ARQ, FEC (Mode B), SELFEC, CCIR 476 a 625;
- PACTOR I;
- GTOR™ – digimode developed by Kantronics with the utilisation of Golay code for error correction, more information on ARRL page;
- Packet – 50–300 Bd on HF, 300, 400, 600, 1200 Bd on VHF (Bell 202 - 1200/2200 Hz standard), supported modes: Host, BBS, KISS
- GPS – NMEA-0183, 4800 Bd;
- WEFAX reception in monochrome (2 colors), it can switch between FM for HF and AM for satellite APT.
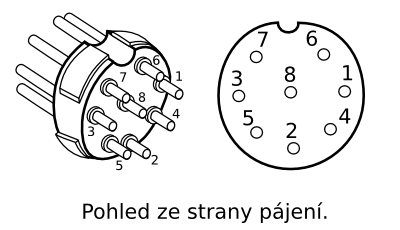
Wiring of HF connector is described quite confusing in the documentation, I hope this image is much more explaining:
|
Pin Label Function 1 AFSK Transmit audio 2 GND Ground 3 PTT Push-to-Talk 4 KEY CW Key line 5 FSK FSK output 6 RCV Receive audio 7 RCV Receive audio 8 XCD External carrier detect |
Original manuals
- The newest version of firmware is available at www.mods.dk
- KAM Plus Getting Started. April 1993
- KAM Plus Reference Manual. Version 7.0. March 1994
- Pactor for the KAM. Version 6.0. November 1992
- KAM Plus and Enhancement Board Manual. Version 8.0. June 1995
- KAM Enhancement Board Manual. Version 7.0. March 1994
- Kantronics Version 8.2 Firmware Update for Kantronics TNCs
- KAM PLUS schematics (1994)
Accessing of serial ports in GNU/Linux
Access to peripheral devices and hardware is provided via special files which are located in /dev directory. Devices called usually /dev/ttyS* provide serial port:
| Name in GNU/Linux | Name in DOS/Windows |
|---|---|
| /dev/ttyS0 | COM1 |
| /dev/ttyS1 | COM2 |
| /dev/ttyS2 | COM3 |
| /dev/ttyS4 | COM4 |
If you use USB/RS-232 converter, the device is named /dev/ttyUSB*.
Your user also needs to have read/write permissions to access ports. Use command ls -l /dev/tty{U*,S*} to check file permissions:
crw-rw----. 1 root dialout   4, 64 Nov 22 15:56 /dev/ttyS0
crw-rw----. 1 root dialout   4, 65 Nov 20 22:58 /dev/ttyS1
crw-rw----. 1 root dialout   4, 66 Nov 22 14:32 /dev/ttyS2
crw-rw----. 1 root dialout   4, 67 Oct 18 14:39 /dev/ttyS3
crw-rw----. 1 root dialout 188,  0 Nov 22 16:07 /dev/ttyUSB0
In the output above, you can see that permission to read and write (rw) has only root and group dialout. If the user is not root or does not belong to group dialout, then root must add permission also for others:
chmod 666 /dev/ttyS0
Or the better way is to add the user into the proper group. The user must logout and login back to shell or X11 to refresh groups. The command for adding user bruxy to dialout group is:
usermod -a -G dialout bruxy
Use id bruxy to check user's groups.
Kernel informations about serial ports
List of ports is available in /proc/tty/driver/serial:
serinfo:1.0 driver revision:
0: uart:16550A port:000003F8 irq:4 tx:2 rx:0
1: uart:ST16650V2 port:0000C800 irq:16 tx:14 rx:0 RTS|DTR
2: uart:ST16650V2 port:0000C400 irq:17 tx:14909 rx:447084 fe:22 brk:3311 RTS|CTS|DTR|DSR
3: uart:unknown port:000002E8 irq:3
In my case, item 0 is COM1 integrated on mainboard, 1 and 2 are ports on PCI-E expansion card MosChip Semiconductor Technology Ltd. PCIe 9912 Multi-I/O Controller.
USB/RS-232
USB converter will be shown in dmesg output after connection:
ch341 1-4.4.1:1.0: device disconnected
usb 1-4.4.1: new full-speed USB device number 36 using ehci-pci
usb 1-4.4.1: New USB device found, idVendor=1a86, idProduct=7523
usb 1-4.4.1: New USB device strings: Mfr=0, Product=2, SerialNumber=0
usb 1-4.4.1: Product: USB2.0-Ser!
ch341 1-4.4.1:1.0: ch341-uart converter detected
usb 1-4.4.1: ch341-uart converter now attached to ttyUSB0
This output of lsusb describes a cheap $2 converter from DealExtreme:
Bus 001 Device 036: ID 1a86:7523 QinHeng Electronics HL-340 USB-Serial adapter
Terminal emulators
PuTTY
PuTTY is a very intuitive terminal emulator. Instead of telnet/SSH select in Session menu serial, select port and speed and you are done. In category Terminal→Keyboard set The Backspace key Control-H to handle Backspace correctly (it looks like that letters are removed on TTY but no backspace is interpreted). Another option to make backspace key work is to set DELETE $7F in KAM+.
You can change setting of the running session by pressing Ctrl+right mouse button.
Screen
Screen is terminal multiplexer which also supports serial link, use for example:
screen -h 1000 /dev/ttyS2 9600,cs8
Option -h will set a number of lines in history. List in history is possible with sequence Ctrl+a [ and then Ctrp+p and Ctrl+n will scroll up and down. Quit screen with Ctrl+a k.
Control serial port with a shell script
Next example is showing standard Linux/Unix way to handle hardware devices via files. Parameters of the link like speed, number of bits or parity can be set with stty. The script below reads and writes data to selected port and can be used to control KAM+
To send ENTER in KAM+'s TTY you need to provide <CR> carriage return ($OD, decimal 13, <Ctrl-M>, ENTER key) and because of it, \r is added at the end of an input line.
#!/bin/bash
PORT=/dev/ttyS2
SPEED=9600
stty -F $PORT ispeed $SPEED ospeed $SPEED -ignpar cs8 -cstopb -echo
# ispeed -- input speed
# ospeed -- output speed
# -ignpar -- ignore parity error (same as no parity)
# -cstopb -- only 1 stop bit is sent
trap 'echo -e "\n- Ctrl-c disabled, press Ctrl-d for quit. -"' SIGINT
cat < "$PORT" &
RPID=$?
while read cmd; do
   printf "$cmd\r" > "$PORT"
done
kill $RPID
The script above starts with settings of port parameters with stty. Then there is the signal trap for SIGINT (when Ctrl+c is pressed) and instead of interrupting of the process the information is printed. We to handle the first process running in the background used just for reading from the port (cat < "$PORT" &). Once this concurrent process is running, its process id is saved into variable RPID. The main loop reads data from the keyboard and sends them to the port with that important "\r". To finish this process use Ctrl+d, which is telling to the read that the input stream is finished (EOF, End Of File). The loop ends and the next command will end the background process.
Access serial port with DOSBox
DOSBox also supports access to serial ports and it can be set in config file ~/.dosbox/dosbox-0.74.conf:
[serial]
serial1=directserial realport:ttyS2
serial2=dummy
serial3=disabled
serial4=disabled
This means that /dev/ttyS2 is connected into DOSBox as COM1. Any other parameters of COM1 are configured in used software.
DOS programs
I have tested following programs and all works without any problems:
- PacTerm 2.0 – Packet Terminal program for DOS. (ZIP, 7k). Freeware terminal developed in Kantronics
- Host Master II+ – popular host mode SW.
- SUPERFAX 2.0 – © 1989, James J. Orleff, very old program for WEFAX reception, the horizontal resolution is only 640 pixel which is useless.
Potential problems
Automatic settings of the serial port
KAM+ after cold restart (jumper K6) or after the very first run, executes Autobaud Routine when the following message is sent in different port speeds:
PRESS (*) TO SET BAUD RATE
Once you establish the connection and you will see this message press the "*". KAM+ will set the ABAUD and save it into internal memory (backed up by battery). Supported serial port speeds are: 300, 600, 1200, 2400, 4800, 9600.
Manual exit from host mode
If the KAM+ is in the HOST mode, a terminal will print following chars: └└S00└ (it is CP-437 encoding of those decimal bytes: 192, 192, 83, 48, 48, 192). You must send: └Q└ (192, 81, 192) to exit the host mode. In old DOS days, it was done with pressing ALT+numbers in terminal and right after that KAM+ will start command mode again.
Switch off HOST mode in Linux is possible with following commands, in this case, hexadecimal numbers are sent with printf:
# Port settings
stty -F /dev/ttyS2 ispeed 9600 ospeed 9600 -ignpar cs8 -cstopb -echo
# Send HOST mode exit sequence
printf "\xc0\x51\xc0" > /dev/ttyS2
Other refences:
- Slávek Zeler, OK1TN: KPC-3 a KAM-PLUS. AMA magazín, Ročník 6, číslo 6, červen 1996.
- Mark Wilson, AA2Z: Kantronics KAM Plus Multimode TNC with G-TOR. ARRL, June 1994.